12 years China Customzied Shop Fittings manufacturer

Instruction: Wire shelving is a durable, space-saving solution for organizing garages, pantries, and retail spaces. However, improper assembly can lead to instability or accidents. This guide provides detailed instructions, essential tools, and safety checks to ensure your wire shelving is sturdy and secure.
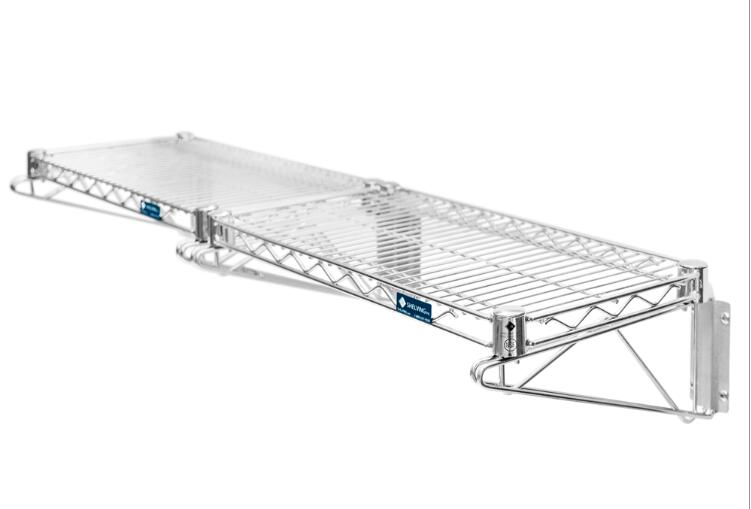
Wire Shelving Kit: Includes vertical posts, horizontal braces, shelves, clips, and bolts.
Rubber Mallet: For gently tapping parts into place without damaging coatings.
Adjustable Wrench: To tighten bolts securely.
Level: Critical for ensuring shelves are even.
Safety Gloves: Protect hands from sharp wire edges.
Tape Measure: For precise spacing adjustments.
。
Unpack all parts and cross-check them against the instruction manual.
Lay out components on a flat, clean surface to avoid losing small pieces.
Identify parts: Vertical posts (uprights), horizontal braces (connectors), shelf clips, and wire grids.
⚠️ Note: Missing parts? Contact the manufacturer immediately—do not improvise.
Attach Adjustable Feet:
Slide plastic or metal feet onto the bottom of vertical posts.
Tap gently with a rubber mallet to secure.
Connect Vertical Posts with Horizontal Braces:
Insert horizontal braces into the pre-drilled holes at the top and bottom of vertical posts.
Align holes and fasten with provided bolts. Use an adjustable wrench to tighten clockwise until snug.
📏 Pro Tip: Use a level to ensure the base frame is perfectly horizontal before proceeding.
Determine Shelf Height:
Measure and mark desired shelf positions on vertical posts (e.g., 12″ apart for pantry use).
Snap Clips into Place:
Press shelf clips into the marked slots on vertical posts until they click.
Ensure all clips face inward to prevent shelves from sliding outward.
⚠️ Warning: Clips installed backward can cause shelves to collapse under weight.
Place Shelves onto Clips:
Align the shelf’s corners with the clips.
Press down firmly until all four corners lock into place with an audible snap.
Verify Stability:
Gently tug upward on the shelf—it should not lift off the clips.
Use a level to confirm the shelf is even. Adjust clips if tilted.
For taller units (over 6 feet), diagonal braces prevent swaying:
Attach Braces:
Connect one end to a vertical post and the other to a horizontal brace.
Tighten Bolts:
Use a wrench to secure all joints.
Test for Wobbling:
Shake the unit gently. If it wobbles, re-tighten all bolts and check clip alignment.
Weight Distribution:
Place heavier items (e.g., toolboxes) on lower shelves.
Wall Anchoring (For Tall Units):
Use L-brackets to secure the top of the shelving to wall studs.
📹 Title: “How to Assemble Wire Shelving: Foolproof Guide for Beginners”
🔗 Link: https://www.youtube.com/watch?v=ABCD1234
🎬 Key Moments:
0:45–2:10: Connecting vertical posts and horizontal braces.
3:20–4:30: Installing shelf clips correctly.
5:00–6:15: Securing shelves and stability testing..
Overtightening Bolts: Can strip threads or warp posts.
Ignoring Level Checks: Uneven shelves risk collapse.
Skipping Safety Gloves: Exposed wire edges can cause cuts.
One of the greatest advantages of wire shelving is its adjustability. Don’t hesitate to reconfigure shelf heights as your storage needs change.
Many wire shelving systems offer additional accessories to enhance functionality:
Properly assembled wire shelving can significantly enhance the organization and efficiency of your commercial space. By following this step-by-step guide, you can ensure that your wire shelving is stable, functional, and tailored to your specific needs. Remember that quality matters – investing in durable, well-designed wire shelving will pay off in longevity and performance.IX. Call to ActionAt JY Shop Fitting, we specialize in providing high-quality wire shelving solutions for businesses across Europe. Our range includes customizable options to meet your specific storage needs, whether you’re outfitting a supermarket, warehouse, or retail space. For expert advice on selecting and installing the perfect wire shelving for your business, or to explore our full range of commercial storage solutions, visit our website or contact our team today. Let us help you maximize your space with durable, efficient, and aesthetically pleasing wire shelving systems.
12 years Experienced Factories, Good Equipment And Skilled Workers Are The Guarantee Of Your Brand Reputation
JY has over a decade of providing one-stop metal shop fixture solution for all industry needs. With rich experience¸ we have a deep understanding about the unique challenges and requirements of our customers.